Painted black boxes


1:8 BTTF DeLorean Black Boxes
Made by
Print With Shapeways
 Choose Your Material
 Choose your color and finish
$12.50
Have a question about this product?
contact the designerYou must be logged in and verified to contact the designer.
Product Description
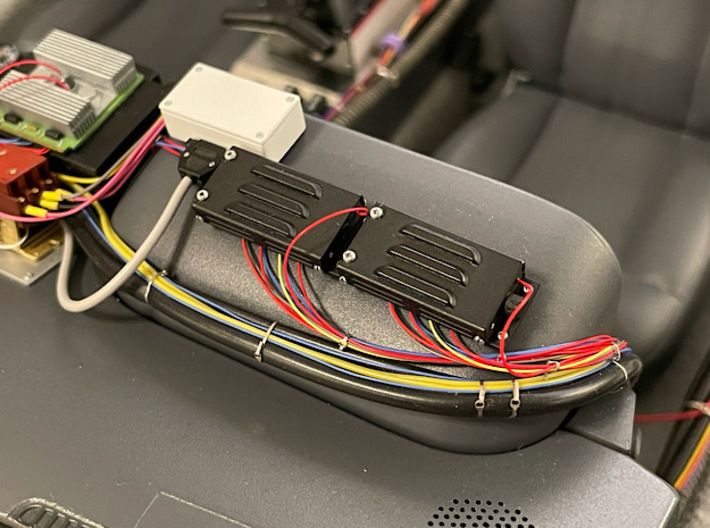
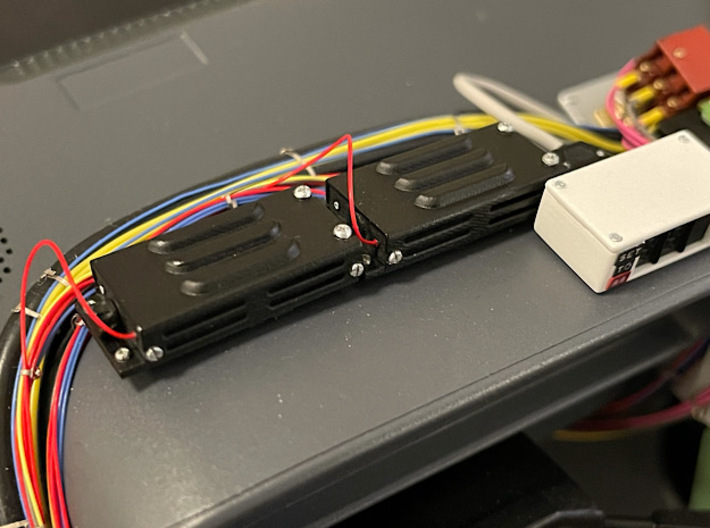
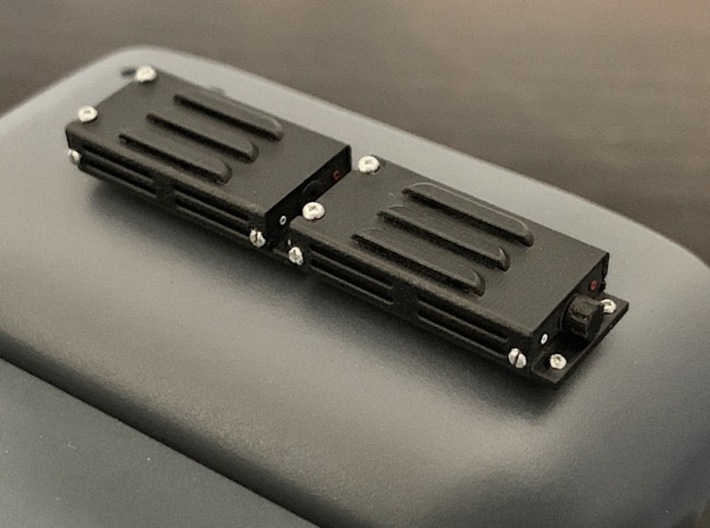
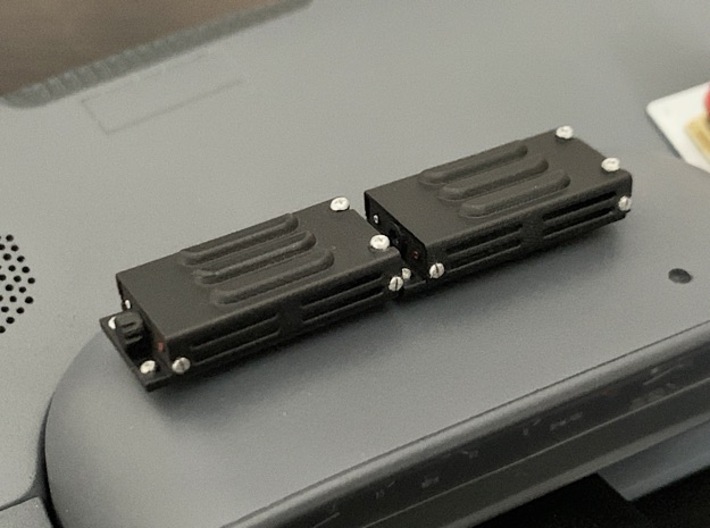
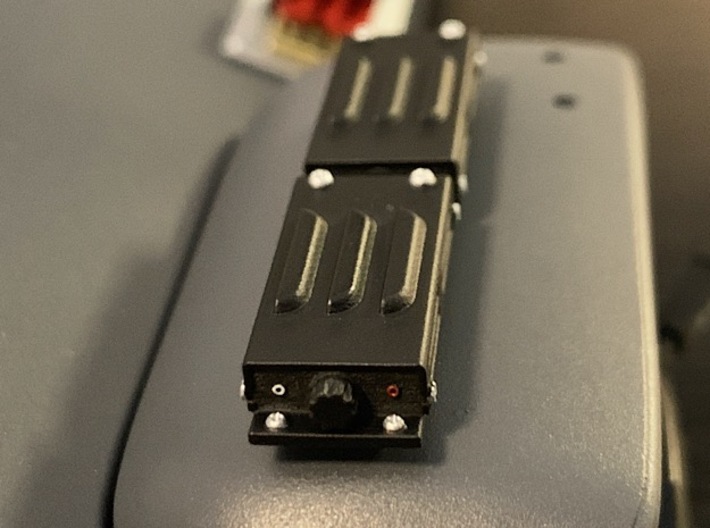
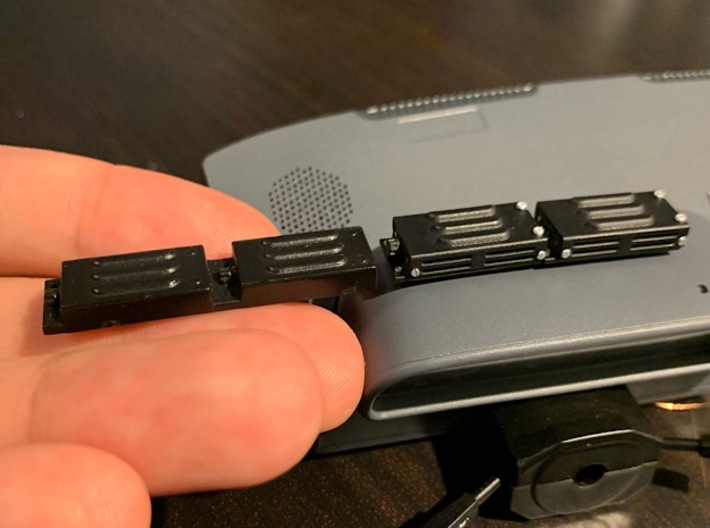
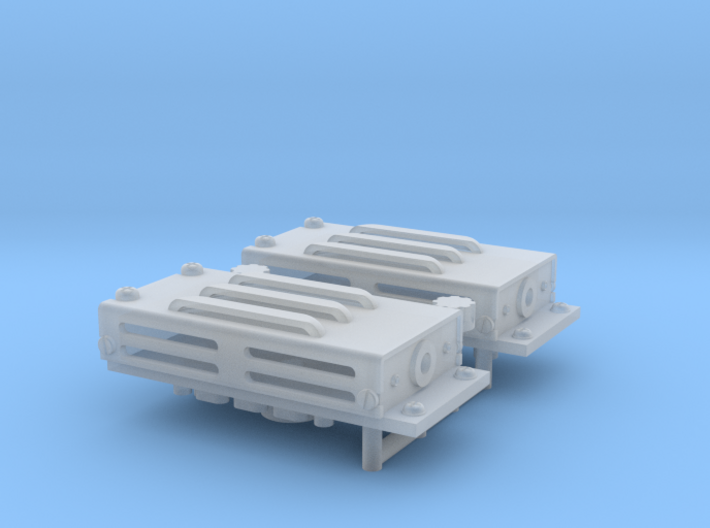
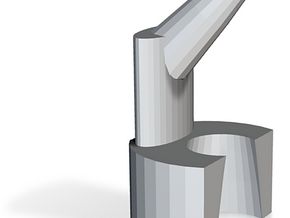
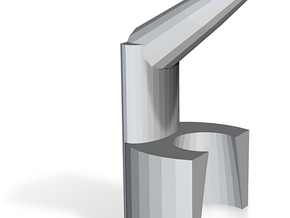
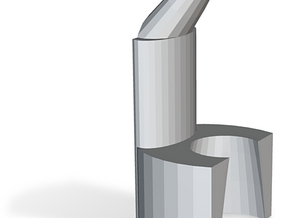
These are the black boxes that sit on top of the dashboard on the drivers side of the DeLorean Time Machine. They replace stock part 45D. A lot of time went into getting every detail perfect, like the small Fuse cap on the side of the left box.
Paint instructions
Assembly
You can screw the black boxes onto the dashboard same way like the stock part by using two AP screws. The right box has a locator pin while the left one doesn't. I would advise in screwing the AP screws into the mounting holes before mounting them to create the thread. When installing keep the left one in place with your fingers so that it doesn't rotates with the screw possibly damaging the corners.
Wiring
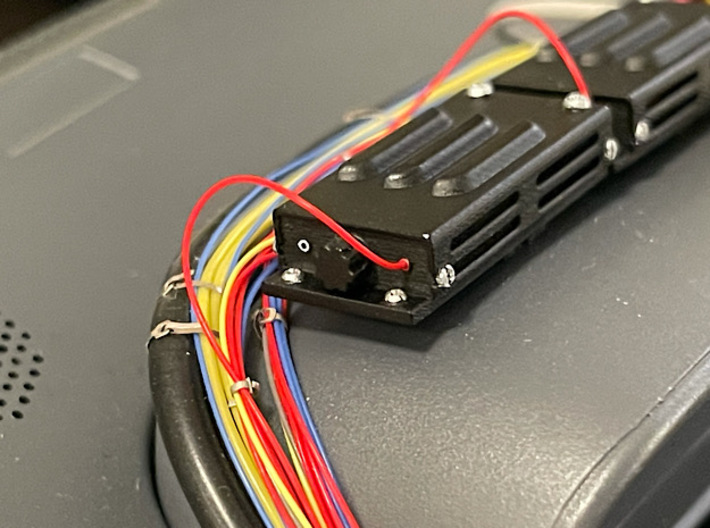
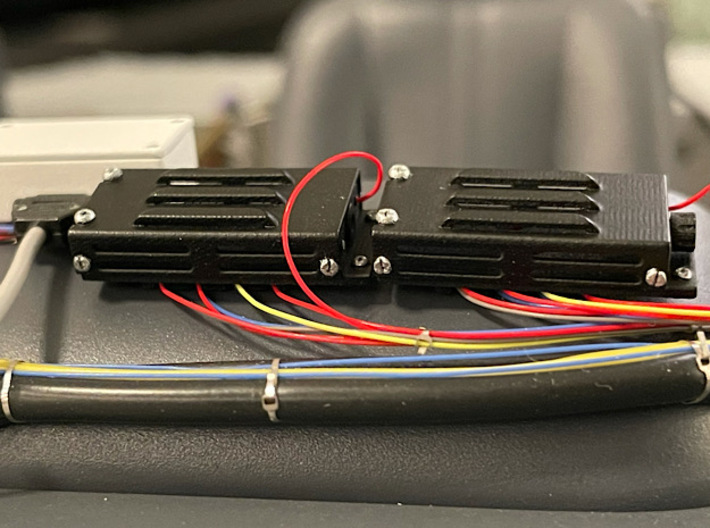
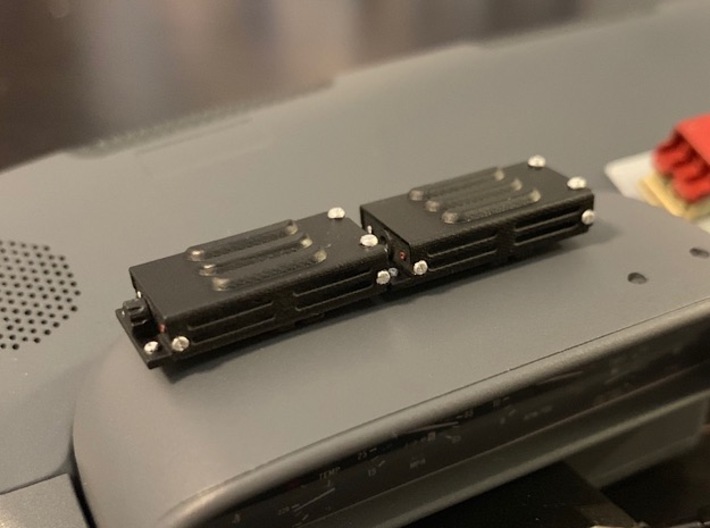
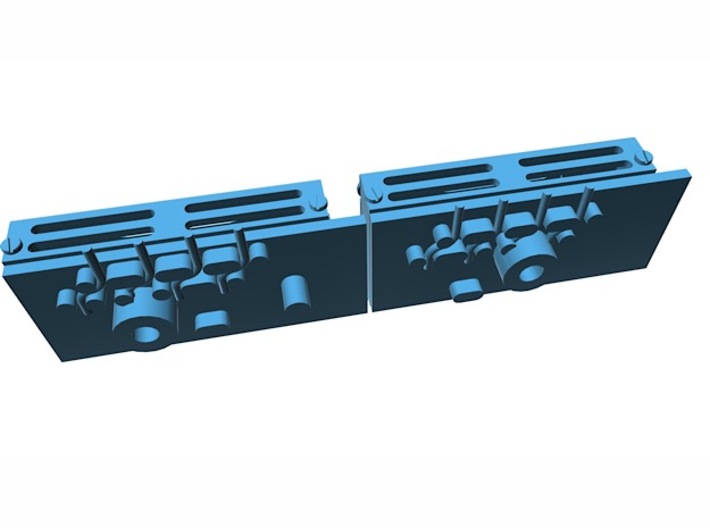
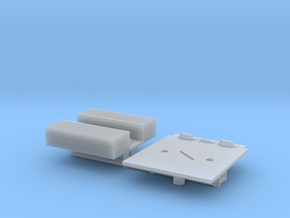
I would advise to add the wiring before mounting the black boxes onto the dashboard. The black boxes are designed to work with 0.28 mm (outer) diameter wire as that would be more accurate but they also work with the stock wires. There's a mounting system on the bottom (see pictures above) that also elevates the boxes a little so that they sit on top of the dashboard just like on the real A-car. Should you want to use the stock wires provided with the kit you will have to strip the ends of the outer coating and insert only the inner wire into the mounting system. Glue the wires on the back just to be sure. If you want maximum accuracy don't cut the wires beneath the right box but mount them and let them come out on the other side passed the speedometer and go down under the dashboard.
Features
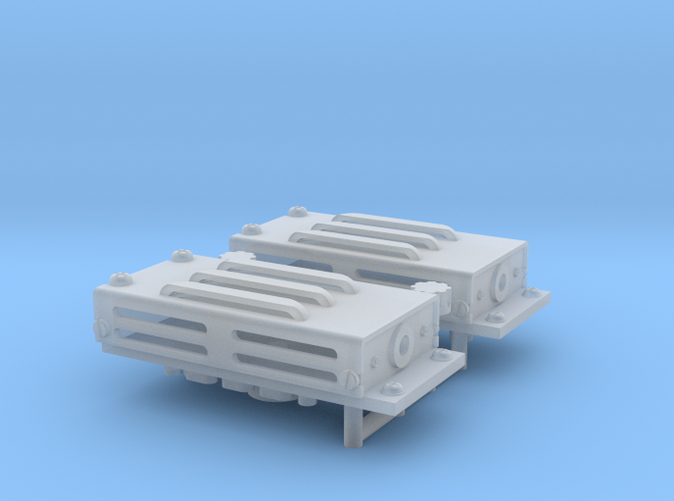
- separated instead of one part
- louvres on both sides
- accurate Fuse cap
- accurate tilt on dashboard
- accurate elevation on dashboard (there's a small space between dashboard and the black boxes where the wires are attached)
What's in the set
- 2 black boxes (left and right)
- 2 fuse caps (there should be only one on the left black box, so there's an extra one for just in case)
Paint instructions
- Prime with Tamiya grey primer
- Paint with Tamiya TS-6 Matt black or any other black of your choice.
- Add detailing on screws using Vallejo Steel 71.065
Assembly
You can screw the black boxes onto the dashboard same way like the stock part by using two AP screws. The right box has a locator pin while the left one doesn't. I would advise in screwing the AP screws into the mounting holes before mounting them to create the thread. When installing keep the left one in place with your fingers so that it doesn't rotates with the screw possibly damaging the corners.
Wiring
I would advise to add the wiring before mounting the black boxes onto the dashboard. The black boxes are designed to work with 0.28 mm (outer) diameter wire as that would be more accurate but they also work with the stock wires. There's a mounting system on the bottom (see pictures above) that also elevates the boxes a little so that they sit on top of the dashboard just like on the real A-car. Should you want to use the stock wires provided with the kit you will have to strip the ends of the outer coating and insert only the inner wire into the mounting system. Glue the wires on the back just to be sure. If you want maximum accuracy don't cut the wires beneath the right box but mount them and let them come out on the other side passed the speedometer and go down under the dashboard.
Features
- separated instead of one part
- louvres on both sides
- accurate Fuse cap
- accurate tilt on dashboard
- accurate elevation on dashboard (there's a small space between dashboard and the black boxes where the wires are attached)
What's in the set
- 2 black boxes (left and right)
- 2 fuse caps (there should be only one on the left black box, so there's an extra one for just in case)
Details
What's in the box:
Black_boxes_F
Dimensions:
Success Rate:
First To try.
What's this?
Rating:
Mature audiences only.
